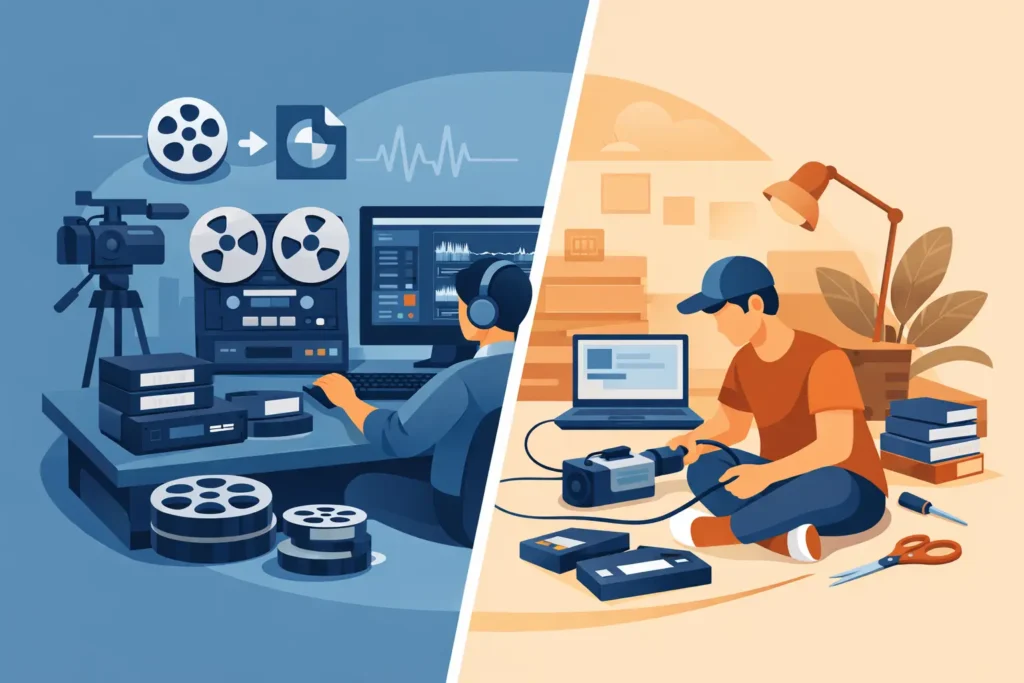
That VHS tape of a first birthday or a family holiday may still play today, but it is unlikely to improve with age. Magnetic tape can lose picture quality, become damaged by damp or mould, or simply outlast the machine needed to play it. When families compare professional versus DIY tape conversion, the real question is not only whether they can make a digital copy. It is whether they can preserve priceless moments safely, clearly and in a format they will actually use.
DIY conversion can be a sensible option for some people, particularly if they have a working player, good-quality equipment and a small number of tapes in sound condition. A professional service can remove much of the guesswork and reduce the risk of damage, especially where footage is irreplaceable or the tapes have been stored for many years. The right choice depends on the condition of your collection, your confidence with equipment and how much your family memories are worth to you.
At its simplest, DIY conversion means playing an old tape through a suitable camcorder or video player and recording the signal on to a computer or digital capture device. The result can then be saved as a file, copied to a USB drive or burned to DVD.
It sounds straightforward, but the conversion itself happens in real time. A two-hour VHS cassette takes around two hours to capture, before allowing for setting up equipment, checking the recording, trimming unwanted sections and saving a reliable copy. A box of 20 tapes can quickly become a substantial project.
You will also need the correct playback equipment for every format you own. VHS-C tapes may need an adaptor, Hi8 and MiniDV usually need the original type of camcorder or deck, and Super8 film requires a different approach altogether. Old players can have worn heads, damaged belts or tracking problems of their own. A tape may appear faulty when the problem is actually the machine playing it.
The cost of a capture device is only one part of DIY conversion. You may need a working VCR or camcorder, leads, a computer with enough storage, software and blank discs or USB drives. If your equipment is not working correctly, repairs can cost more than expected, and replacement machines are becoming harder to find in dependable condition.
There is also the cost of time. For someone who enjoys working through family archives, that time may be worthwhile. You can decide exactly how files are named and when to make copies. But if the tapes have been sitting in a cupboard for years because the project feels daunting, a professional transfer can be the easier route to finally getting the footage watched and shared.
The biggest difference is often not the file itself. It is the process around the transfer. A specialist service is set up to assess older media, use maintained playback equipment and monitor the recording as it is made. This is particularly valuable for tapes that show picture noise, tracking lines, intermittent sound or signs of age.
Professional conversion cannot turn severely damaged footage into perfect high-definition video. Home recordings were made with the technology available at the time, and some issues are already recorded on the tape. However, careful handling and suitable equipment can give the best practical chance of capturing what remains.
DIY work carries a little more uncertainty. A sticky, mouldy or brittle tape can snag in a machine. A worn VCR may crease tape or produce an unstable picture. If you are unsure how a tape has been stored, it is wise not to force it into an old player simply to see what is on it. Stopping at the first sign of trouble may protect footage that cannot be replaced.
There is a privacy consideration too. Family videos often include children, private celebrations, loved ones who have passed away and moments that were never intended for public viewing. If you use a conversion service, it is reasonable to ask where original tapes are handled, how they are stored and whether the work is completed in-house. A small, accountable team offers a very different experience from sending treasured footage into an unknown bulk-processing chain.
DIY conversion may suit you if the tapes are recent enough to be in good condition, you already own a reliable player and you are comfortable using a computer. It can also work well if you have only one or two non-urgent tapes and are happy to spend an afternoon learning the process.
It gives you direct control over file names, folders and editing. You may enjoy creating short clips for relatives or removing long sections of blank recording. For technically confident families, this can become a meaningful project, especially when several generations watch the footage together as it is captured.
Even then, make more than one copy. A digital file is easier to access than a tape, but it still needs looking after. Keep a copy on a computer or external drive and another in a separate location. If you choose DVD, remember that discs can also become scratched or fail over time, so retain a digital file where possible.
Professional conversion is often the better option when you have a large collection, no working player, mixed formats or tapes that have been kept in a loft, garage or shed. It is also a reassuring choice when the material is emotionally important and you would rather not risk learning on a tape containing a wedding, a child’s first steps or a recording of someone no longer with you.
A specialist can transfer VHS, VHS-C, Hi8, MiniDV and other formats into choices that fit your household. A USB drive is convenient for keeping a collection together. MP4 files are easy to view on many modern devices and share with family. DVDs can still be useful for relatives who prefer a familiar disc in the living-room player. The best output is the one you will be able to open, enjoy and copy in future.
At VHS To DVD Ltd, original media is handled in-house rather than passed through an anonymous production line. Customers can arrange an order online, by email, WhatsApp, post or in person, and the usual target turnaround is seven working days. Footage is retained for 30 days after transfer, giving time to check that the chosen files or discs are right for you. Those practical details matter when you are trusting someone with personal, one-of-a-kind recordings.
Before beginning, gather tapes in one place and label them clearly. A simple note such as Family holiday 1994 or Sarah school concert can save time later, particularly if several cassettes look alike. Do not use sticky labels over moving parts or write heavily on the cassette shell.
Keep tapes dry and away from heat, radiators and direct sunlight. If a cassette smells musty, has visible mould or has been exposed to water, set it aside rather than testing it. Tell your chosen service about its condition. For postal orders, place each tape in a case where possible, wrap the group securely, use a sturdy box and choose a tracked service. Keep a note of what you have sent.
It is also worth deciding what you want back before the transfer starts. Do you want full-length recordings, a USB for the family, separate files for each tape or extra DVDs for grandparents? Clear choices at the beginning make the finished archive easier to enjoy.
DIY conversion can save money when you already have the right equipment and the confidence to use it. Professional conversion can save time, avoid avoidable mistakes and provide greater reassurance for fragile or treasured footage. Neither option is automatically right for every household.
What matters most is acting while the tapes can still be played. Whether you convert them yourself or place them in careful hands, giving those recordings a new lease of life means the people in them can remain part of family conversations for years to come.