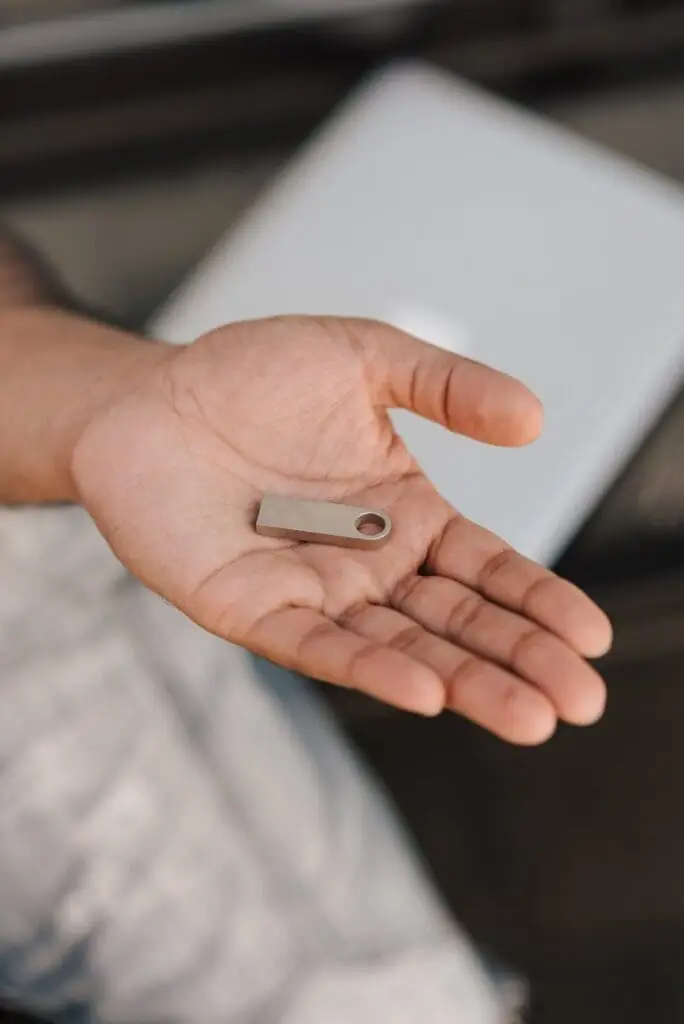
One important consideration when using a USB stick to play videos on your TV is ensuring that the TV’s USB port functions as a display source and not just a power source. Many TVs come with USB ports that are designed solely for powering external devices like streaming sticks, keyboards, or USB-powered speakers, but do not support data transfer for displaying media content. Here’s how to ensure you are using the correct USB port for media playback: 1. Check the TV’s Manual or Specifications The first step is to check your TV’s user manual or online specifications. Some TVs have multiple USB ports, and only one or two might support video or file playback. Typically, USB ports labeled as “USB 2.0” or “USB (Media)” are intended for data transfer and media playback. Ports labeled “USB (Power)” or “USB (Charging)” are generally designed only to provide power to external devices. 2. Look for On-Screen Prompts When you insert your USB stick into the TV, pay attention to any on-screen prompts. If the USB port is dedicated to powering devices, you may see a message indicating that the TV recognizes the stick but can only provide power. In contrast, if the port supports media playback, the TV will automatically display the contents of the USB drive or prompt you to select a file. 3. Test Different Ports If you’re unsure, try plugging the USB stick into different available USB ports on your TV. If the TV recognizes the media files on the stick and displays them, then the port is functioning as a display source. If no files appear or you’re only prompted to charge a device, try using a different USB port. 4. Use an HDMI Media Player as a Backup If your TV doesn’t have a USB port capable of playing videos, you can use a media player or streaming device that connects via HDMI. Devices like Google Chromecast, Amazon Fire Stick, or Roku can read content from USB sticks (via a USB-to-HDMI adapter) and allow you to play videos on your TV. By ensuring you are using the correct USB port, you can avoid frustration and enjoy a smooth, hassle-free video-watching experience on your TV.
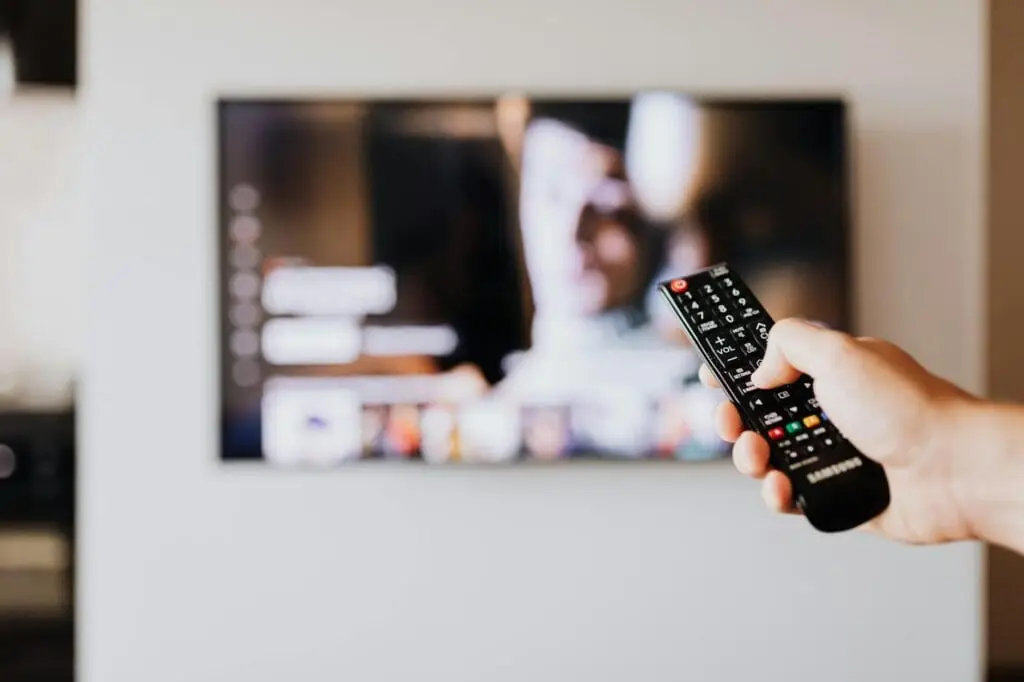
In today’s digital age, USB sticks have become a convenient and versatile tool for storing and transferring files. One of the most popular uses for a USB stick is to play videos on your TV. Whether you want to watch movies, TV shows, or home videos, using a USB stick is a simple and effective way to enjoy your media on the big screen. In this guide, we will walk you through the steps of using a USB stick to play videos on your TV and offer tips to ensure a smooth experience. What You Need to Play Videos from a USB Stick on Your TV Before diving into the process, it’s essential to ensure you have the right equipment. Here’s what you’ll need: Step-by-Step Guide to Playing Videos on Your TV Using a USB Stick 1. Prepare the USB Stick The first step is to load the video files onto your USB stick. Plug the USB stick into your computer, and drag-and-drop the desired video files into the USB stick’s folder. For best performance, keep your video files organized in a clear folder structure, especially if you have multiple videos. Once the files are transferred, safely eject the USB stick from your computer. 2. Insert the USB Stick into Your TV Locate the USB port on your TV, which is typically located on the side or back panel. Insert the USB stick into the port. Depending on your TV model, it may take a few moments to recognize the device. 3. Select the USB Input on Your TV Using your TV remote, navigate to the input/source menu. This can usually be accessed via the “Input” or “Source” button on the remote. From the list of available inputs, select the USB option. Your TV will display the contents of the USB stick. 4. Browse and Select Your Video File Once your USB stick appears on the screen, use your remote to browse through the video files stored on it. Select the video you want to play by highlighting it and pressing “Enter” or the corresponding button on your remote. 5. Play the Video After selecting the video, your TV should automatically begin playing it. If it doesn’t start, check for any on-screen prompts that may ask you to confirm the video format or settings. 6. Control Playback While the video is playing, you can use your TV’s remote to control playback. This typically includes pause, play, fast forward, rewind, and volume control. Some TVs also allow you to adjust the aspect ratio or enable subtitles for certain video formats. Troubleshooting Tips If you encounter issues while playing videos from your USB stick on your TV, here are a few troubleshooting tips: Advantages of Using a USB Stick to Play Videos on Your TV In Summary Using a USB stick to play videos on your TV is an efficient and simple way to enjoy your favorite content without needing additional devices. Whether you’re watching a movie, a personal video, or a presentation, following these steps will help you seamlessly connect your USB stick to your TV. Just make sure your files are compatible, and you’re all set for a smooth viewing experience. Happy watching!