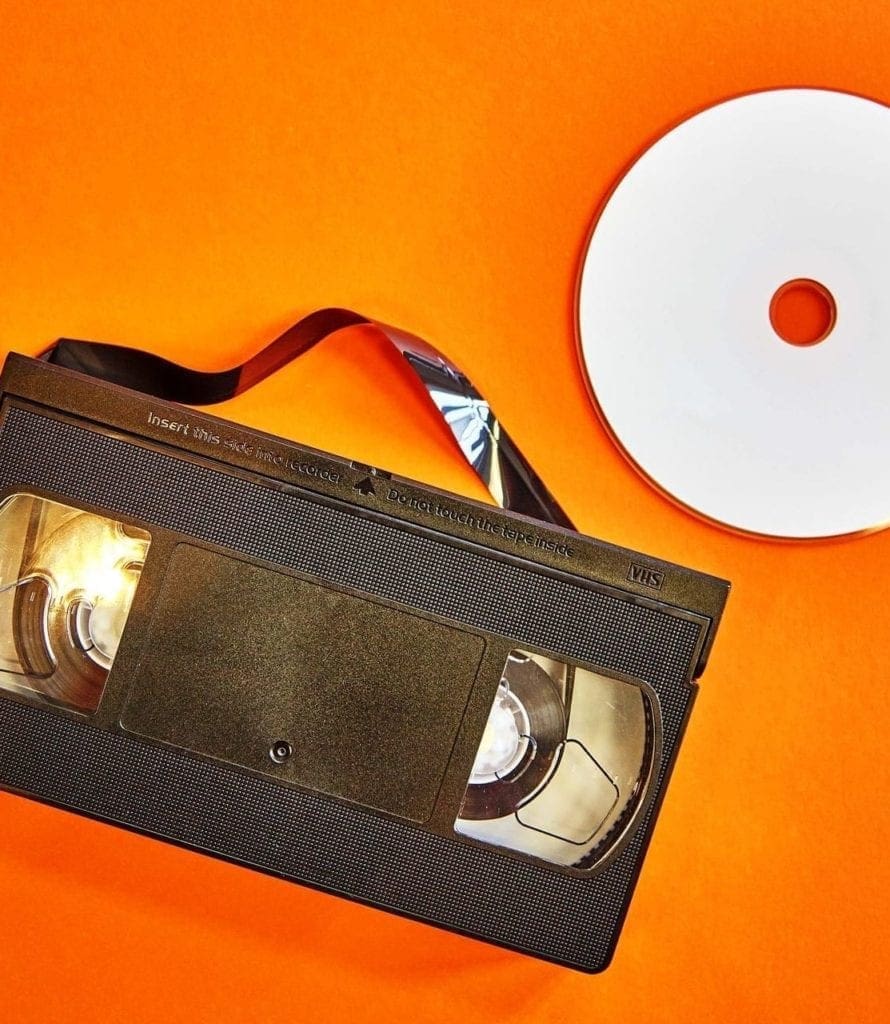
If you’ve found an old VHS tape that’s damaged, you might think all those precious memories or valuable content are lost forever. Luckily, you can often fix a broken VHS tape with some basic tools and a little patience. Here’s a comprehensive guide on how to fix a broken VHS tape.
Tools and Materials You’ll Need
Before you start, gather the following tools and materials:
- A small screwdriver (Phillips or flathead, depending on the screws in your VHS tape)
- Scissors
- Clear adhesive tape (preferably splicing tape)
- A flat, clean working surface
- Cotton gloves (optional, to avoid fingerprints on the tape)
Step-by-Step Instructions
1. Open the VHS Tape
First, you need to open the VHS tape casing. Use the screwdriver to remove the screws holding the two halves of the tape together. Carefully separate the two halves, making sure not to lose any small parts, such as springs or screws.
2. Inspect the Damage
Determine the type and extent of the damage. Common issues include:
- Broken or cut tape: The tape itself is severed.
- Creased or wrinkled tape: The tape has folds or wrinkles that affect playback.
3. Repair a Broken Tape
If the tape is broken or cut, follow these steps:
- Locate the Break: Find the exact point where the tape is broken.
- Trim the Edges: Use scissors to trim the damaged ends of the tape cleanly. Make sure both ends are straight.
- Align the Tape: Lay the two ends of the tape flat on your work surface, ensuring they are perfectly aligned.
- Apply Splicing Tape: Cut a small piece of clear adhesive tape. Carefully place it over the seam where the two ends of the VHS tape meet. Press down firmly to secure the tape without creating any folds or bubbles.
- Rewind the Tape: If necessary, manually rewind the repaired section back into one of the reels to prevent it from getting stuck during playback.
4. Fix Creased or Wrinkled Tape
For creased or wrinkled tape, follow these steps:
- Locate the Damaged Area: Identify the section of the tape that is creased.
- Smooth the Tape: Lay the creased section flat on your work surface. Use a soft cloth or your fingers to gently smooth out the wrinkles. Be careful not to apply too much pressure, which could cause further damage.
- Splice If Necessary: If smoothing the tape doesn’t work, you may need to cut out the damaged section and splice the tape together as described in the previous step.
5. Reassemble the VHS Tape
Once you’ve repaired the tape, carefully reassemble the VHS casing:
- Align the Halves: Place the two halves of the VHS tape casing back together, ensuring all internal components are correctly aligned.
- Secure the Screws: Replace and tighten the screws to secure the casing.
6. Test the Tape
After reassembling the tape, test it in a VCR to ensure it plays correctly. Fast-forward and rewind through the repaired section to check for any issues.
Preventive Tips
To avoid future damage to your VHS tapes:
- Store Properly: Keep tapes in a cool, dry place away from direct sunlight.
- Handle with Care: Always handle tapes by the edges to avoid touching the tape surface.
- Use a Rewinder: Rewind tapes using a separate rewinder instead of your VCR to reduce wear and tear on both the tape and the player.
Conclusion
Repairing a broken VHS tape can save valuable memories and content from being lost forever. With the right tools and careful handling, you can fix most common issues and extend the life of your VHS collection. Follow these steps to repair your tapes, and enjoy the nostalgia of playing back those old recordings.
For more detailed guides and video tutorials on VHS tape repair, consider visiting specialized websites and forums dedicated to video tape restoration and preservation.