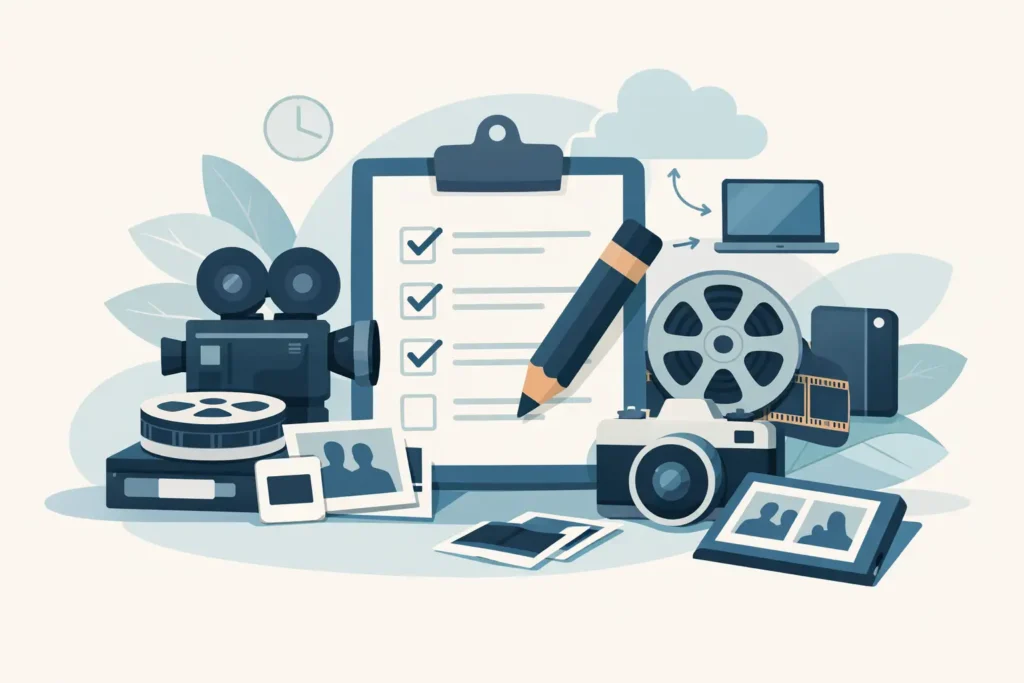
A tape labelled “Summer 1994”, a MiniDV from your child’s first school play, or a box of slides from a grandparent’s wedding may look safely stored away. Yet the memories on them can become harder to watch, hear or recover with every passing year. This legacy media preservation checklist gives you a clear, manageable way to protect treasured footage, photographs, recordings and files before the original format or the equipment needed to play it is gone.
Family archives have a habit of spreading. There may be VHS tapes in the loft, photo albums in a spare room, cassette recordings in a drawer and old discs beside a computer that no longer starts. Trying to deal with everything at once can feel overwhelming, so begin with one box, cupboard or set of shelves.
Set aside anything that holds a personal record of family life: video tapes, camcorder cassettes, DVDs, Blu-rays, audio cassettes, vinyl, MiniDiscs, photographs, negatives, slides, floppy disks and old computer discs. Do not assume that a disc is safe simply because it is newer than a tape. Recordable DVDs and CDs can deteriorate, become scratched or fail to work in newer drives.
As you sort, avoid playing old tapes repeatedly just to see what is on them. A damaged or ageing tape can snag, shed material or play poorly in an unserviced machine. If something looks mouldy, damp, cracked or badly warped, keep it separate and let a specialist assess it rather than forcing it into a player.
This checklist is designed to help you make sensible decisions without needing to become a technical expert.
The aim is not perfect cataloguing. Even a brief list makes it easier to check that every original is returned and ensures the most meaningful items are dealt with first.
Magnetic tape is often the urgent category. VHS, VHS-C, Hi8, Video8, Digital8, MiniDV and audio cassettes all rely on tape moving smoothly through machinery. Over time, tape can stretch, stick, weaken or become affected by poor storage conditions. Playback machines are also increasingly difficult to find in good working order.
That does not mean every old tape will fail immediately. A tape kept cool, dry and upright may still play well, while one stored in a damp garage may already be at risk. The point is that waiting rarely improves the situation. Conversion captures what is accessible now and gives you a practical copy to enjoy without wearing out the original.
Photographic slides, negatives and prints deserve similar attention. They can fade, discolour, scratch or stick together, particularly if they have been exposed to heat, moisture or sunlight. Scanning allows precious images to be enlarged, shared and protected, while the original albums and boxes can remain part of the family archive.
Old data media needs a slightly different approach. Floppy disks, data CDs and DVDs may contain letters, school work, scanned photographs or early digital camera files that exist nowhere else. Do not format a disk or attempt repairs if you are unsure what is stored on it. Recovery is often more successful when the original has not been repeatedly tried in failing equipment.
There is no single best output for every household. It depends on who will use the memories and how you want to keep them.
An MP4 file is usually the easiest everyday choice because it works well on many televisions, computers, tablets and phones. AVI and MOV files may also be suitable where a particular editing programme or device calls for them. USB drives are straightforward for receiving a collection of files, especially when you want to copy them to a computer or share selected clips with relatives.
DVDs still have a place, particularly for parents or grandparents who prefer putting a disc into a familiar player. They can make thoughtful keepsakes, but they should not be your only archive. Keep a digital file as well, since players and discs can fail or become less common.
For audio, a digital file makes it easier to hear old cassette recordings, vinyl, MiniDisc or voice messages without risking the original. For photos, ask for files that can be viewed easily and copied for family members. The best choice is the one you will actually be able to access in five years, not simply the one that sounds most technical.
Before anything leaves your home, take a few simple precautions. Photograph the contents of your collection and your inventory. Put a contact sheet inside the parcel with your name, telephone number, email address and clear instructions about the output you would like. If there are items that need special attention, identify them plainly.
Pack tapes and discs snugly so they cannot move around. Use a sturdy box, cushioning material and a second protective layer for fragile cases. Avoid writing directly on tapes or sticking labels across moving parts. For postal orders, use a tracked service and retain your proof of posting until your originals are safely back with you.
Local drop-off can be reassuring when you have a larger or particularly sentimental collection. If posting is more convenient, careful packing and tracking provide a sensible record of the journey. Either way, choose a provider that is open about where originals are handled and how long converted files are retained.
These are personal records, not just pieces of plastic and tape. It is reasonable to ask whether conversion is carried out in-house, whether your media is handled confidentially, and what happens if a disc supplied as part of the order is faulty.
Also ask about turnaround, file delivery and retention. A stated target helps you plan, but difficult tapes, damaged media or large collections can sometimes require extra care. At VHS To DVD Ltd, original media is handled in-house, customers have a stated seven-working-day turnaround target, and transferred footage is retained for 30 days. That retention window can be useful if you need an additional copy, but it also means you should download, check and back up your files promptly when they arrive.
Be wary of anyone promising that every damaged tape can be restored perfectly. Conversion can preserve the footage that remains, but it cannot recreate scenes that were never recorded or guarantee flawless results from a severely deteriorated original. A dependable service will explain the condition honestly and treat your priceless moments with care.
When your transfer arrives, do not put the USB or discs away unopened. Play a selection from the beginning, middle and end of each tape or recording. Check that the files open on the device you are most likely to use and that names, dates and folders make sense to you.
Then make your backup. Copy the files to a computer or external drive and keep another copy in a separate location. If you use an online storage service, treat that as an additional copy rather than the only place your memories live. Technology changes, accounts can be lost, and a little duplication now avoids another rescue job later.
Finally, return to your inventory and tick off what has been transferred. You may decide to keep the originals in a cool, dry place, away from radiators, direct sunlight and damp. They are part of the story, even after the digital copies make the memories easier to enjoy.
The most valuable next step is often a small one: choose the first box, label it, and let the people and moments inside it have a new lease of life while they can still be shared.